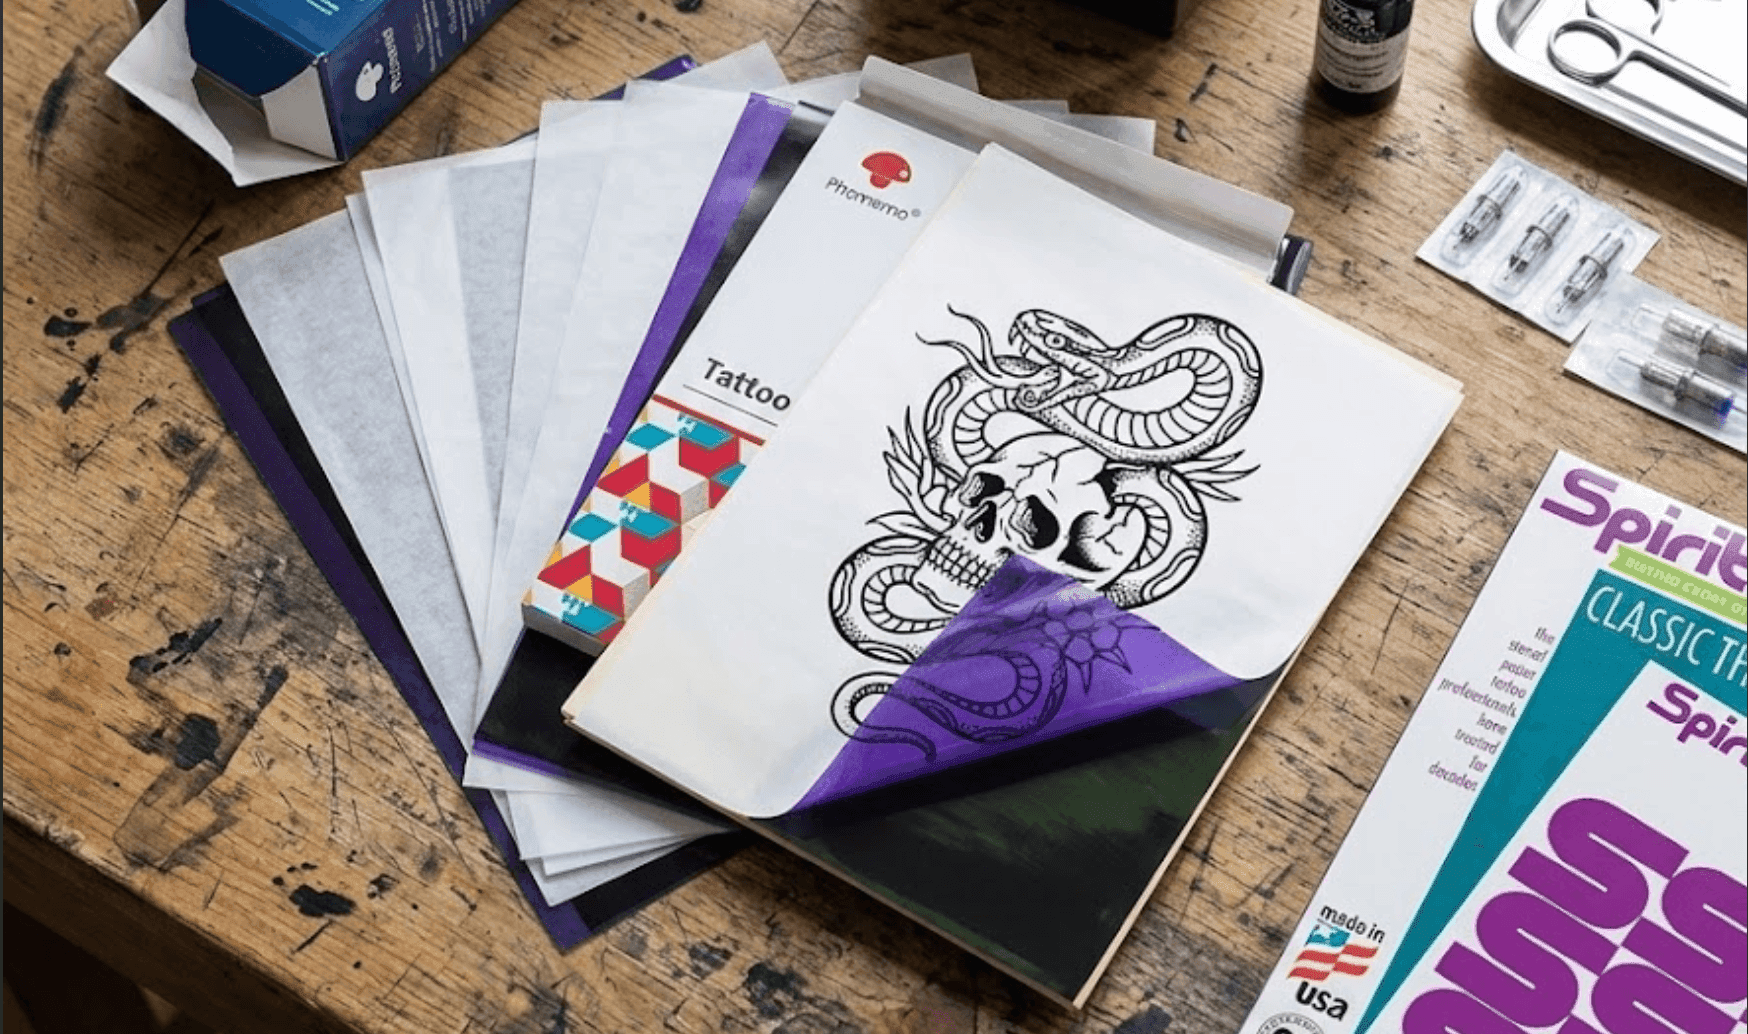
Related Studio & Technical Guides
- Needle Configuration: Understand taper & groupings in our Best Tattoo Needles Guide.
- Machine Setup: Compare starter rotary options in our Best Tattoo Machine for Beginners Guide.
- Hygiene Standards: Review barrier controls in our Best Tattoo Grip & Supply Guide.
The Ranked List
DISCLOSURE: This post contains affiliate links. If you purchase through our links we may earn a small commission at no extra cost to you.
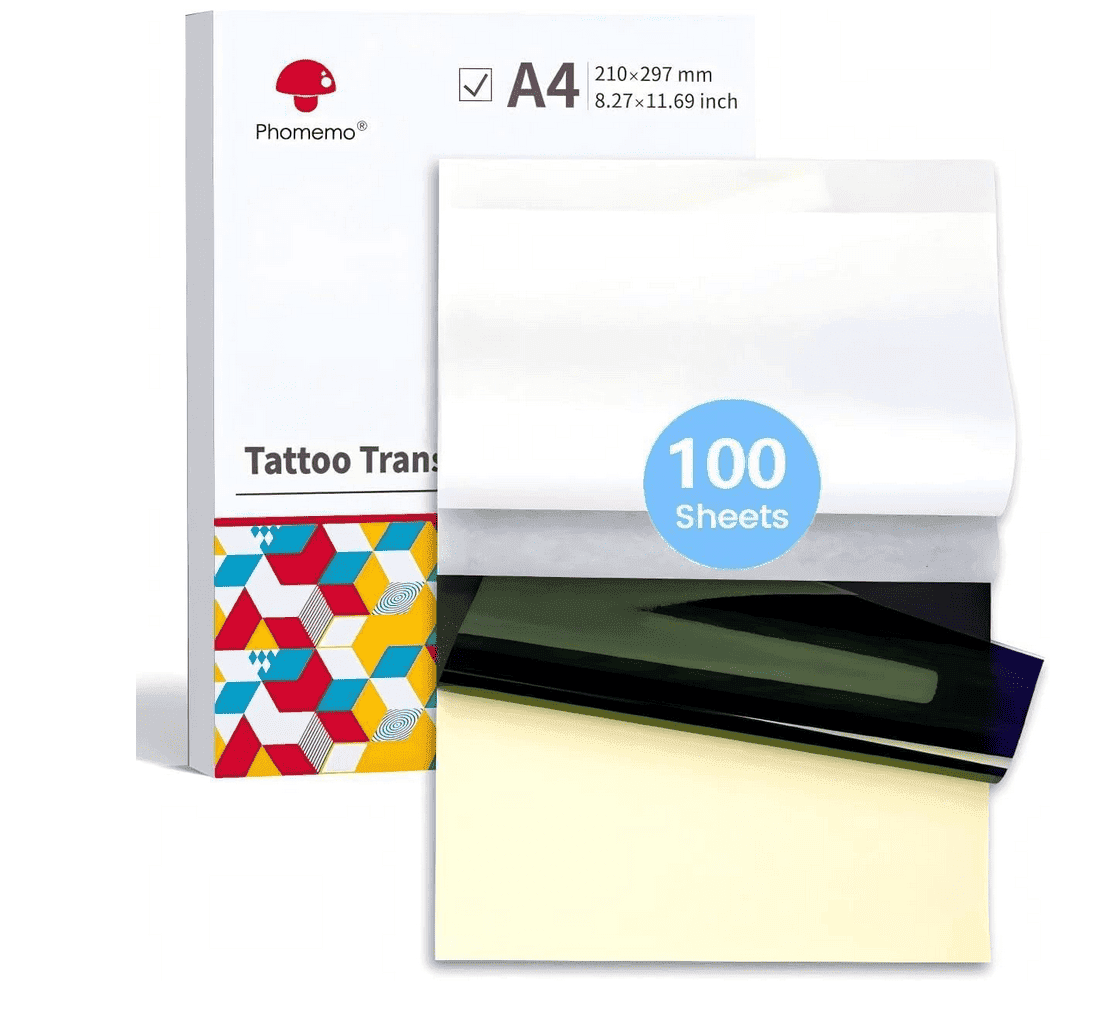
Spirit Classic 100-Sheet
BEST OVERALL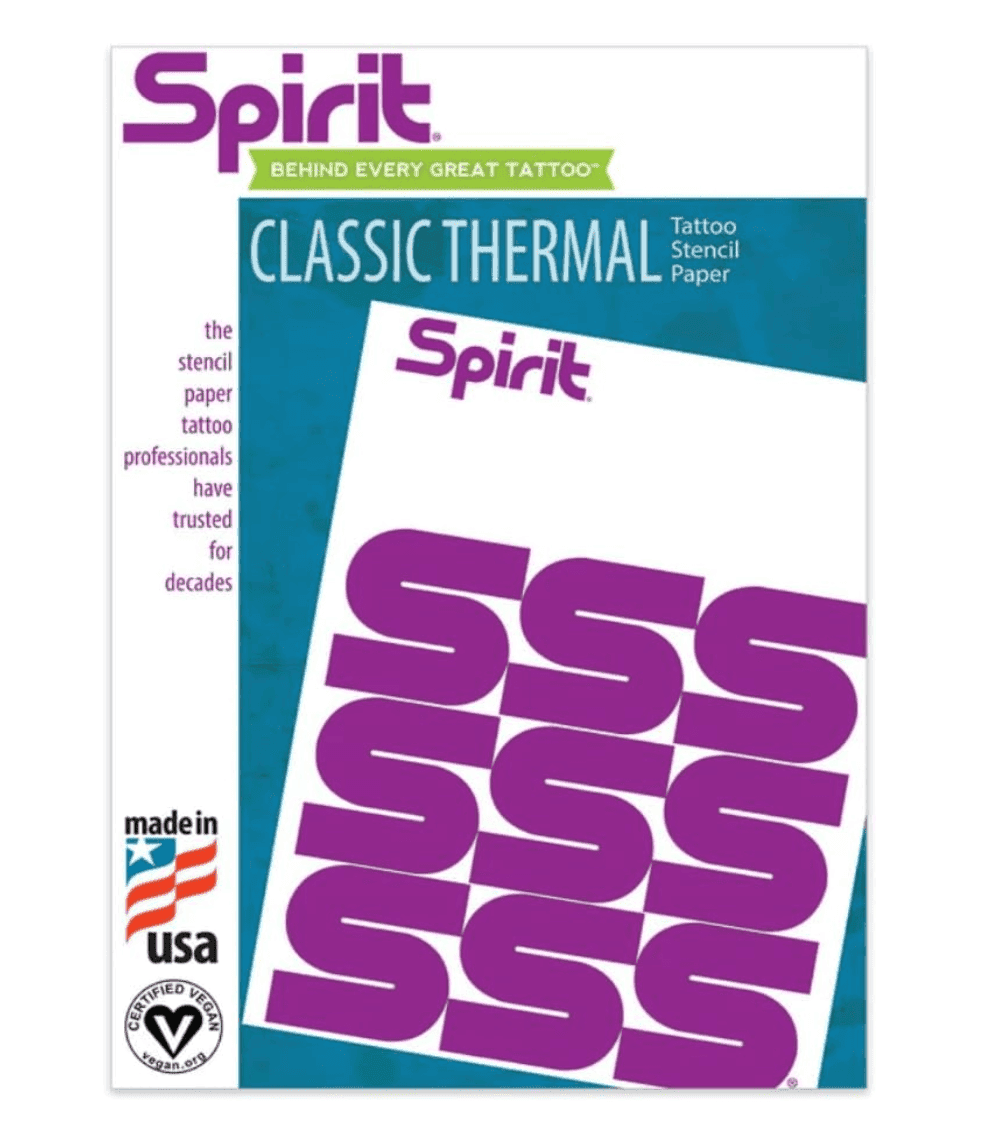
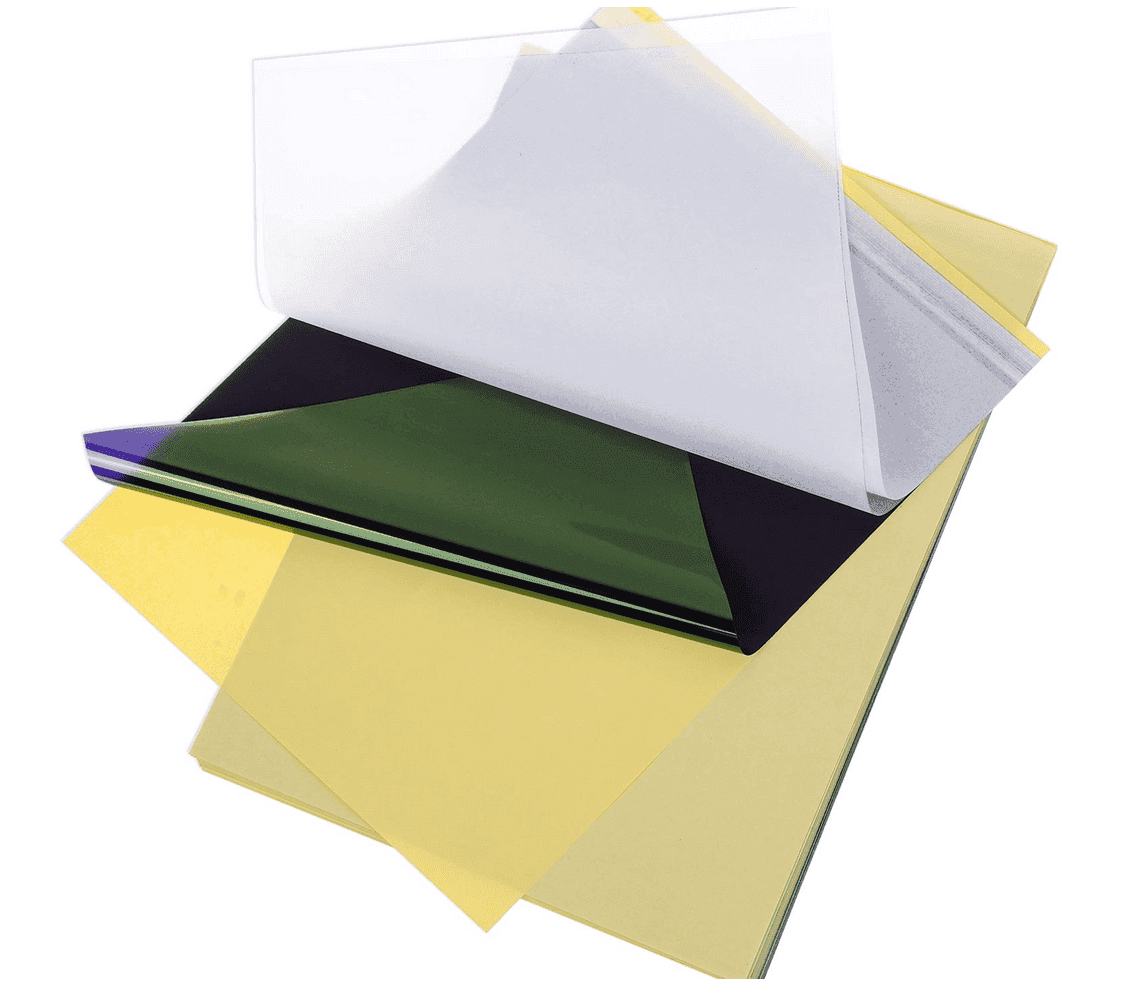
What it actually does >> This is the paper you see in every professional shop. The 4-ply construction with perforated backing produces stencils that stay dark through multiple wipes. You can outline, shade, and wipe repeatedly without losing the design. The dye bond is so strong you'll need alcohol to remove it from skin after the session. Feeds through any thermal printer without jamming. Artists have trusted this brand since 1946, that's track record, not marketing.
Costs roughly double what mid-range papers go for. That premium makes sense for client work but is overkill for practice on fake skin.
How Hectograph Carbon Transfer Actually Works
Stencil transfer paper uses a hectograph process — a carbon-based dye suspended in a waxy carrier layer that releases when the paper is pressed against wet skin. The dye molecules are attracted to the water molecules on skin surface and transfer from the waxy carrier to the skin through a combination of pressure and surface chemistry. The transfer quality depends on the size and distribution of the dye particles in the carrier. Fine, evenly distributed particles produce uniform transfer across the design. Coarser or unevenly distributed particles produce the inconsistent faint-and-dark pattern that makes cheap stencil paper frustrating for detailed work. Once on skin the transferred dye sits on the epidermis surface and in the superficial layers of the stratum corneum. Green soap and witch hazel dissolve the waxy components of the dye and progressively remove the transfer with each wipe. Higher-quality papers use dye formulations with better skin adhesion that resist this removal longer — not because the chemistry is fundamentally different but because the particle size is optimised for the balance between initial transfer completeness and subsequent wash resistance.
"The stencil longevity problem that most beginners blame on paper quality is usually a green soap dilution problem. Fix the dilution first."
Already have your design? Each design in our library includes the recommended aftercare protocol for its specific style and placement. Browse verified designs →
Exactly What To Do, Day by Day
PREP THE SKIN.
Wash the area with fragrance-free soap and pat dry. Remove any lotion or oil — residue creates a barrier that reduces lidocaine absorption significantly.
APPLY STENCIL GEL.
Apply a generous layer and cover immediately with plastic wrap. The occlusion creates a moist environment that accelerates diffusion. Do not rub it in.
PRINT YOUR DESIGN.
Set a timer. Do not remove the wrap early. At 10 minutes you have 20% of the effect. At 45 minutes you have the maximum.
POSITION CAREFULLY.
Place the stencil on the skin. Press firmly and evenly for 10-15 seconds. Don't slide it around.
PEEL SLOWLY.
Start at one corner and pull at a low angle. Let the stencil dry for 2-3 minutes before starting.
WIPE GENTLY.
Dab rather than drag. Excessive pressure will degrade even the best stencil.
What To Never Use
The absolute cheapest packs
from no-name brands. Customer reviews are full of <doesn't transfer at all> and "wipes off immediately." You'll waste more time fighting the paper than you save on cost.
Using thermal paper for hand-drawn designs without testing first.
Some papers only work with thermal printers. Stick to hectograph paper for hand drawing.
Skipping stencil gel.
The paper is only half the equation. Cheap gel or no gel will ruin even premium paper.
Practicing with Spirit on fake skin.
It's expensive and you're not getting the durability benefits on silicone. Save it for real skin.